Since taking Mindy Lacefield's
Paint Your Story workshop, I've been playing around with creating backgrounds. I've been loosening up, letting go a bit more, learning to cover my mistakes, and getting lots of do-overs! Being a "recovering perfectionist" this has been a huge leap for me, and I thought I'd take you on a little journey of what my brain thinks when I'm on such an adventure. So, here we go!
I think the house was standing out too much, having black in it... so I outlined the clouds and numbers in black oil pastel to balance it out. And, after watching a marathon of American Pickers and seeing Mike Wolfe trying out an old-timey highwheel bicycle... well, I had to add one in my painting...
Whoa! What the heck happened here? Well, the clouds were looking a little too childlike for me. Too cute, I guess. So I tried to cover them up. But they were actually created using
bleeding art tissue paper (new to me too!), which — as their name suggests — bleeds through the layers and layers of paint you put over it! So first I tried scribbling in the clouds with black oil pastel, which worked. But I hated it. So I just found the darkest color I could that wasn't black, and masked out everything but the rainbow. I added stars into the new night sky. I kind of liked it.
Well, damn, if I liked it... what the hell happened now? Sheesh! I "pulled" the blue paint down into the white section that led up to the bicycle and the house. I tried to lighten the navy by overpainting some lighter blue over top. But I didn't like that and expressed my frustration across the whole sky, writing with red oil pastel! It says, "
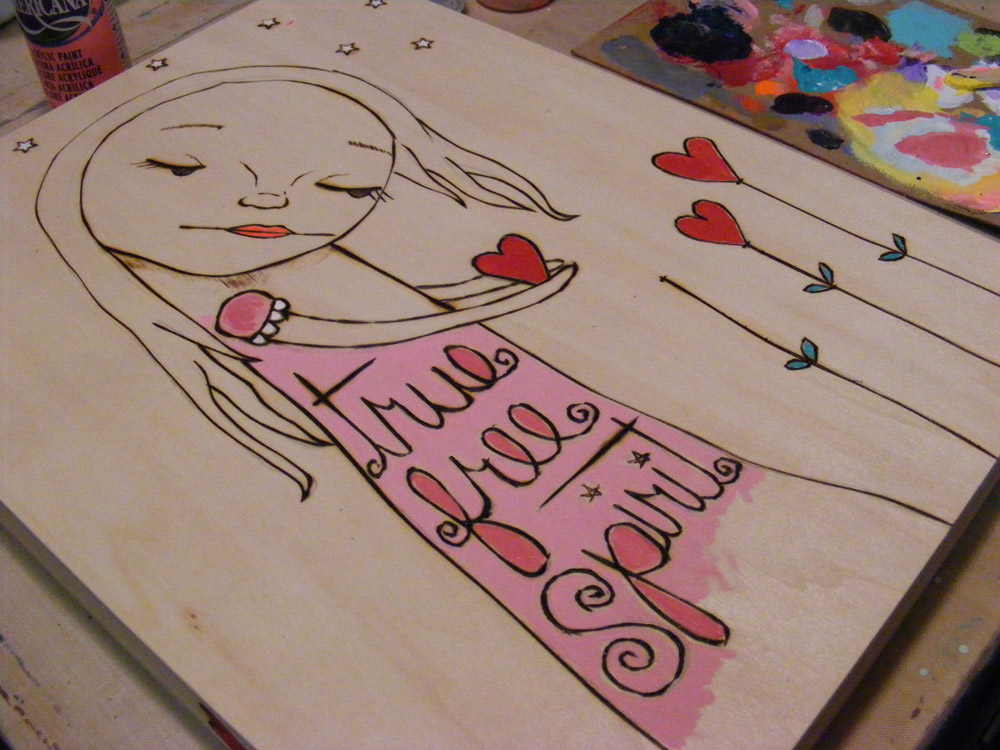
this is so hard for me. I just don't get why I'm having such a hard time making backgrounds. But I'm not giving up yet." I also changed the orange dots on the left to red, and the red dots near the bottom to pink. Okay... I like that. But that big blue spot under the rainbow...
Hey! Now what? A skull? Yup. I was so angry at how things were going that I thought I'd make a skull right there under the rainbow. Didn't like that at all. Not sure why... but it just didn't go. So I tried to cover it with red paint and that didn't work. So I let my primitive brain take over and just made marks and lines down the side and a cool banner thingy across the top. Okay, well that stuff I like. Now what to do with the sky?
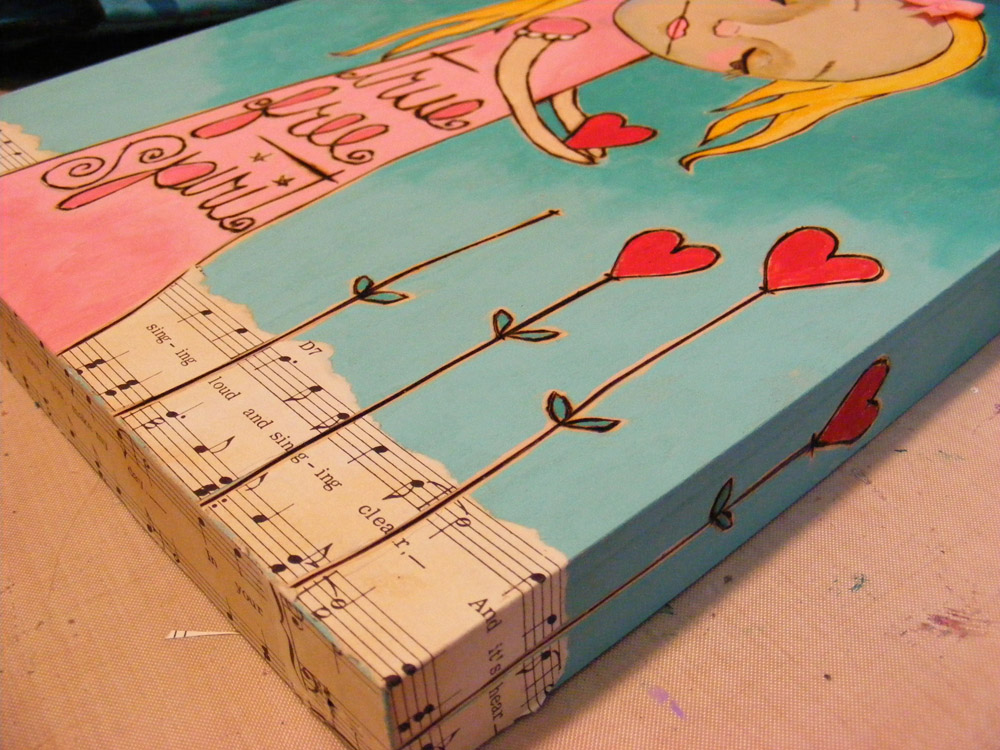
Yes! That's it! I'll just cover the whole thing up! I didn't mean to. But I used my fingers to add a lighter bluey-aqua paint over top. I had to add several layers because it was so light over that dark background, but I love the way it still shows through. I balanced out the bottom by bringing the pink all the way across and added a few stars in the upper right corner for visual balance. And I haven't touched it since, because I love it just the way it is. But I'm still not sure if I'm done.
This is my brain on art.